To make your own powerband
with ease of assembly , adjustable
wishbone length, and easy
changeability do the following steps:
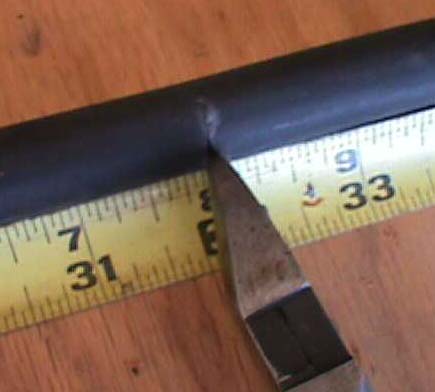
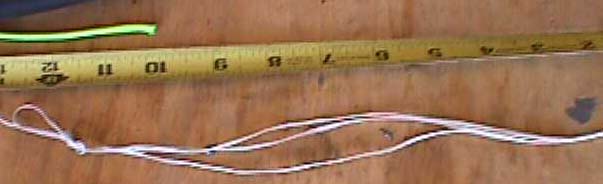
- cut to desired length - measure the full distance a fully stretched
band would require then subtract 6 (for the wishbone) and divide by 3 to
3.2 depending on how tight you like your bands - that is the length of
the powerband rubber. Tighter will mean more power but it will also
mean it is more difficult to load. Better to get more power by adding
more bands. For high-modulus rubber, you can go up to 3.5 to 1 stretch.
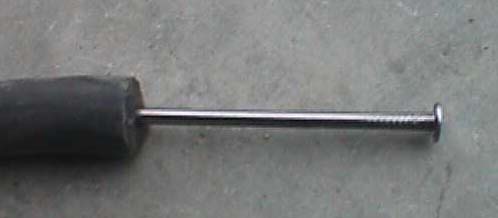
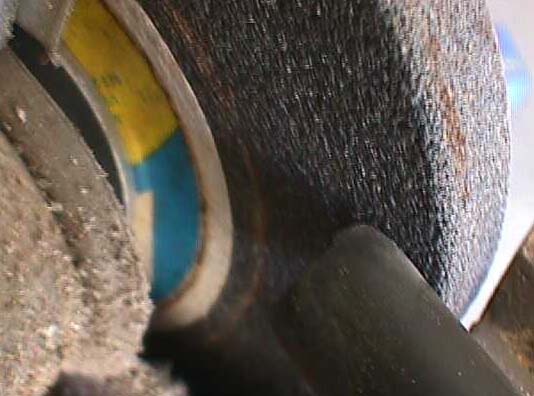
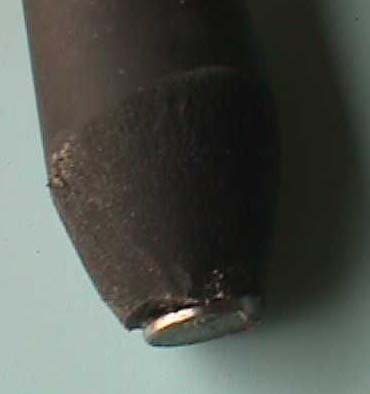
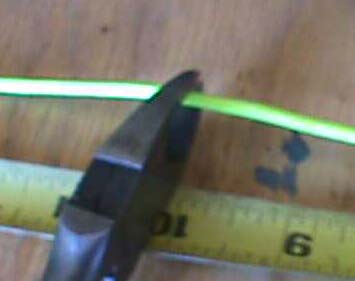
- taper each end - by inserting a nail into the end
of the band (wet it first to ease insertion) then using the pedistal
grinder taper the
end at a 45
degree angle, grinding down until the grinder sparks on the
nailhead .
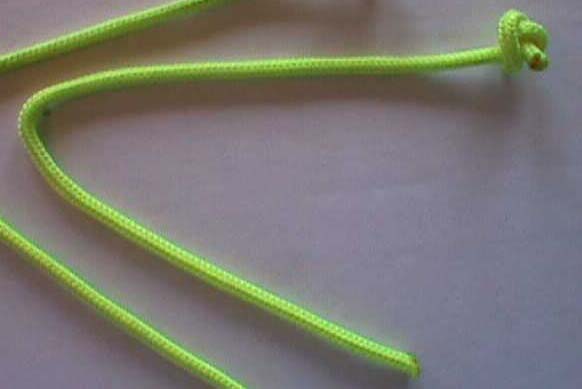
- make the wishbone
Sear the ends with a torch
or match to prevent fraying.
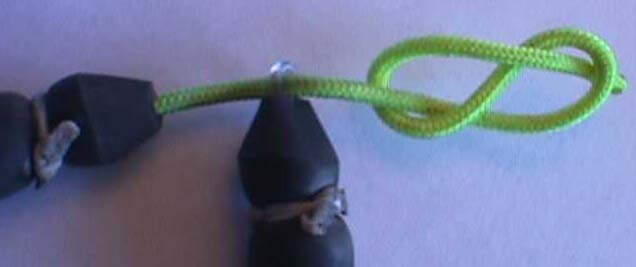
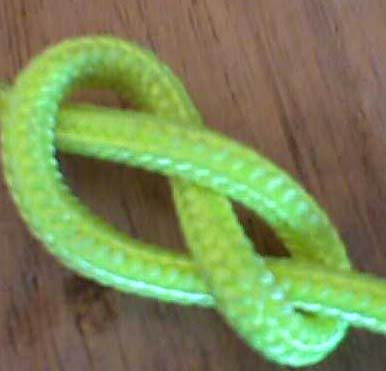
- tie a figure eight knot in one
end of the 10" length of 1/8" nylon paracord. Pull the knot tight with a pair of vice
grips.
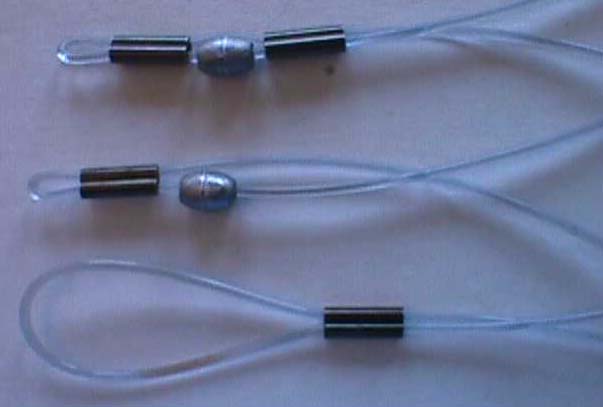
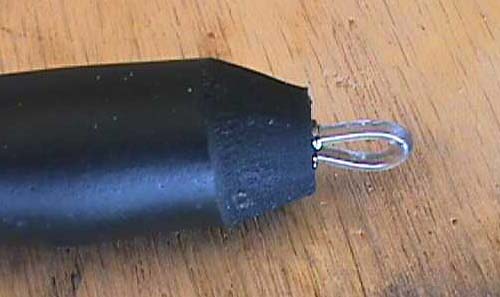
- construct the bandeye . Here is
a shot of the stages of the bandeye
assembly. First cut about 6 inches of 400lb mono and thread onto a 2.2 barrel
crimp . Then swage the crimp
with a large enough loop
for the cord to run through. Next install a barrel
shot on one leg and a trailing
barrel crimp. Swage the
entire assembly and then cut
the trailing mono to result in the final bandeye
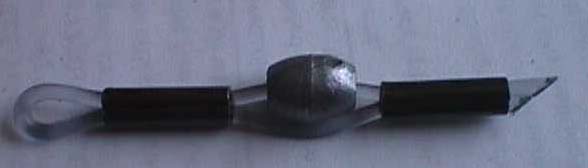
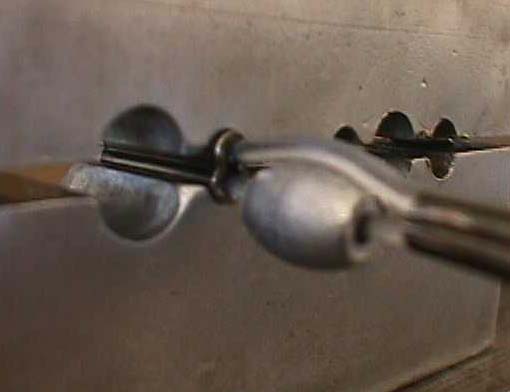
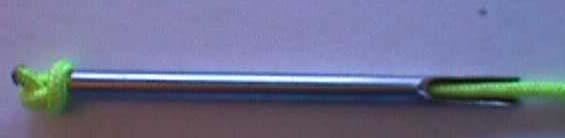
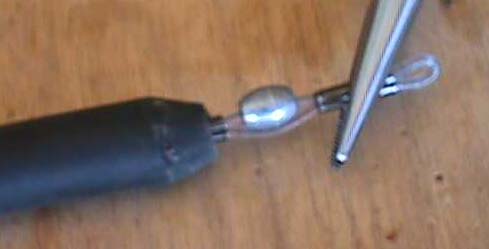
- insert the wishbone end into the powerband end - this is the
part I find most difficult, so I use a tool
we make to insert them. Put the figure eight
into the tool, clamp the tool into a vice and push it on. If you are putting on the
double knotted wishbones (we don't - but here is how) reverse the
tool
here is another shot of it .
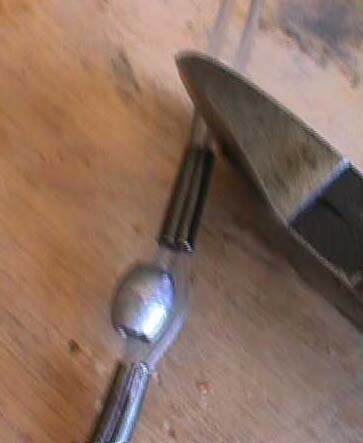
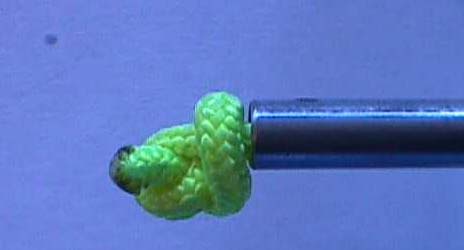
Silicone spray on the knot and silicone spray up the hole in the rubber
will aid in inserting the knot. Wrap cloth around the rubber to protect your hand
and then push the rubber over the tool holding
the knot. Be sure it is
deep enough to allow you to tie a knot over the cord in the next step.
- insert the bandeye using
needlenose plyers and silicone spray until its
all the way in.
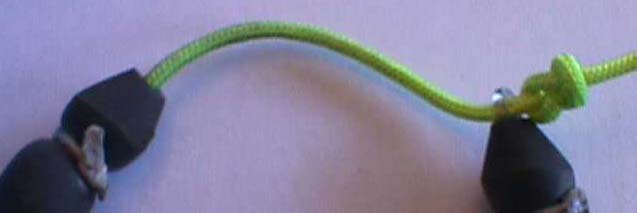
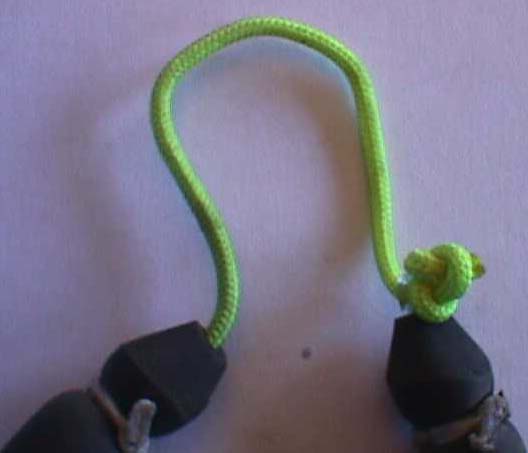
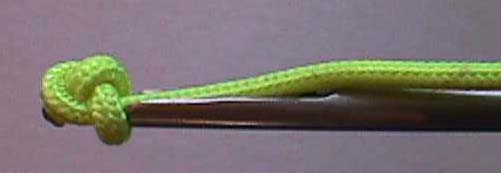
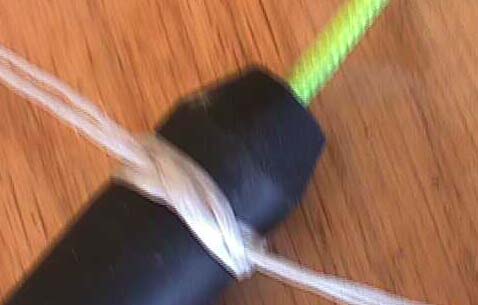
- tie the Constrictor Knot or the
Double Constrictor Knot over
each end Using plyers
pull the knot - be sure it is very tight - so tight that the rubber seems
like it is going to burst tie it
twice using square knots after the constrictor. Also be sure you tied
it as close to the taper as you can but still over the wishbone line. Cut
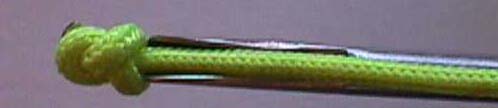
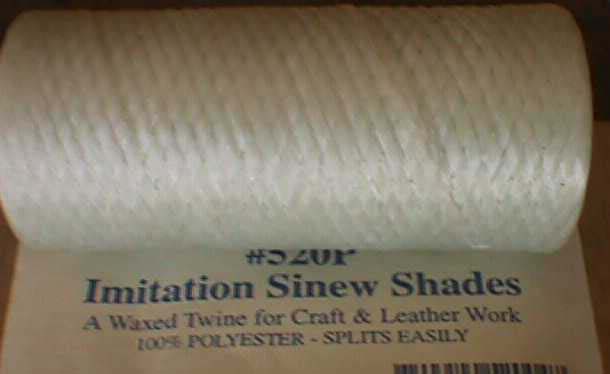
and sear the tag ends of the knot line. I use the
waxed wipping line sailors (available at West Marine or better Marine
supply stores). Cut about a 12 inch segement when
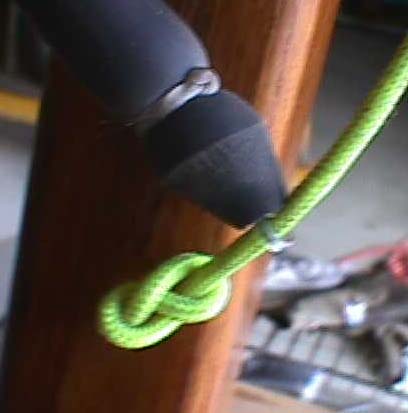
tripled tie figure eights in the waxed line. installation on the
gun is easy - thread thru the guns
band slot . Then tie a
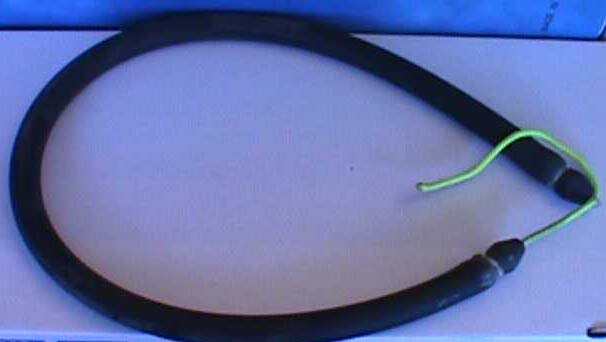
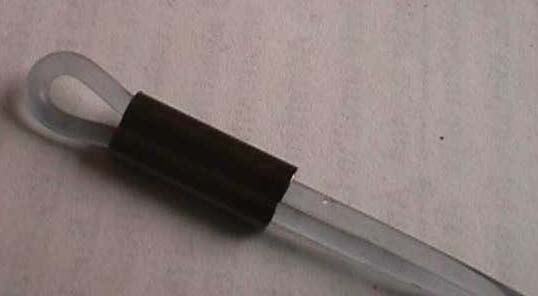
figure 8 in the wishbone cord. The
finished product
- test for strength - pull each end apart to be sure the wishbone
knot isn't going to pull out. Repeat test on a speargun to be sure it
holds. If it pulls out, your constrictor know wasn't tight enough or
your figure eight knot was too small.